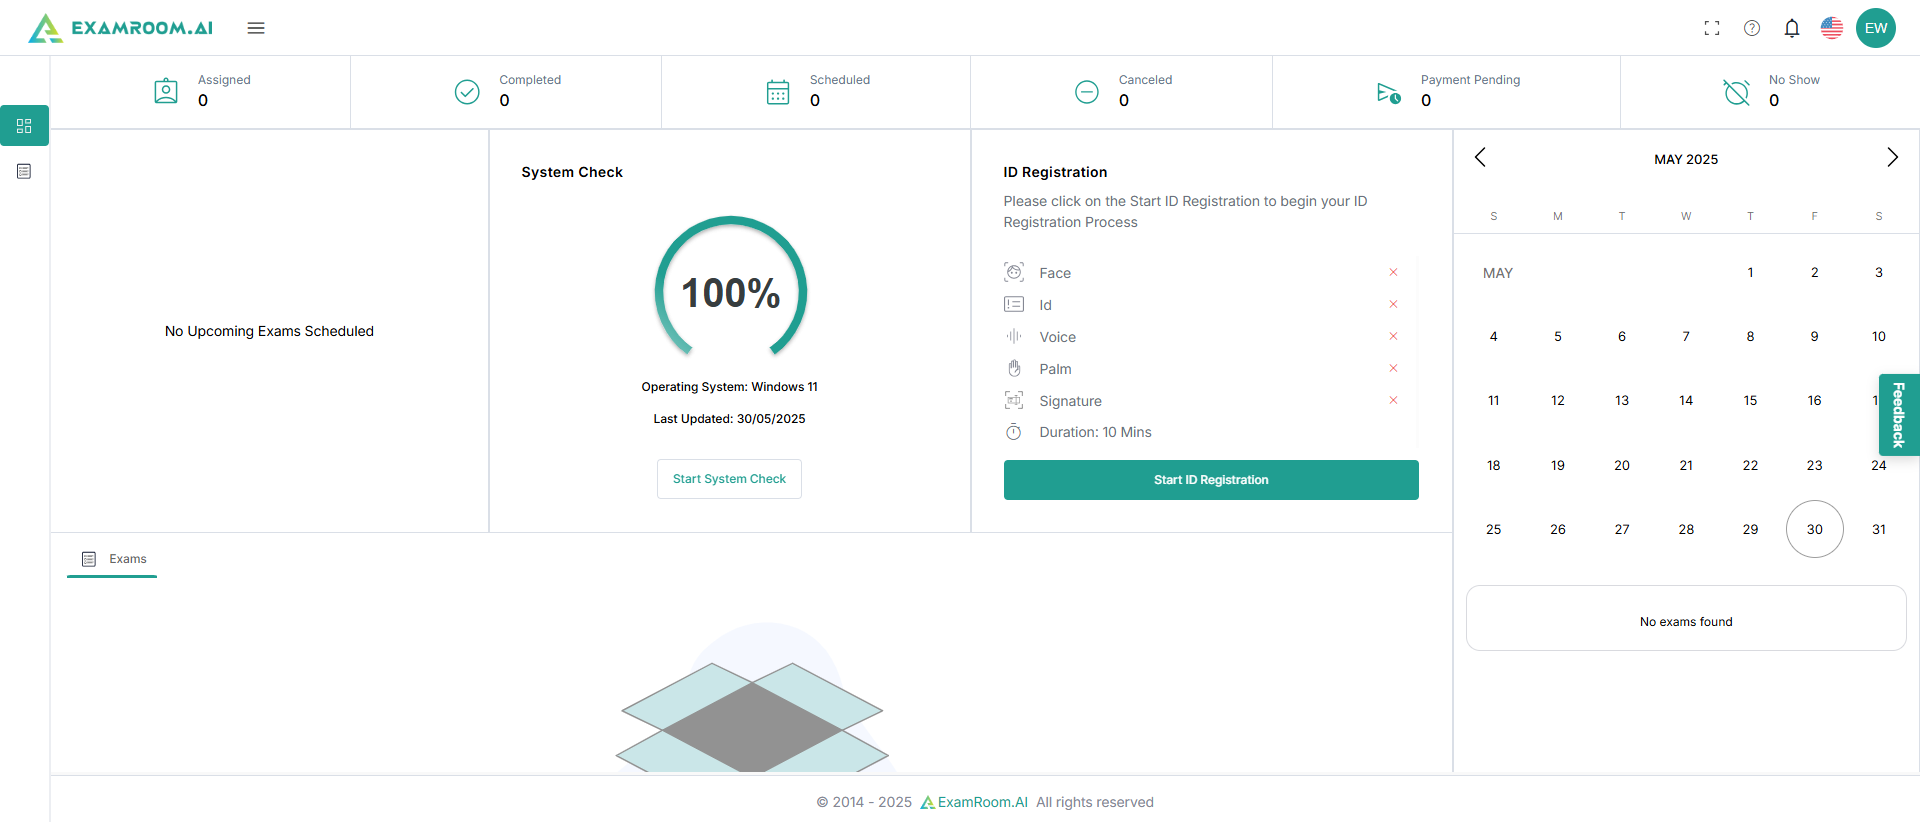
Identity Registration - If required by your Exam Sponsor
- To begin, click the Start ID Registration button on the dashboard.
Note:
- Some of the Identity Registration steps below might not appear on your dashboard, as options are directed by your exam sponsor. Ignore the steps below that are not relevant to your registration process.
- Also, the sequence of verification below may vary based on the exam sponsor configuration.
Camera and Microphone Permission
Note: The following system check process has been explained in the Chrome browser.
A. Chrome Permissions
- When you click "Start ID registration," it asks permission to use microphones and cameras. Toggle on both to approve access and click Recheck.
- If you have already provided access to the camera and microphone, then the above screen will not show up, and the configuration data is directly fetched.
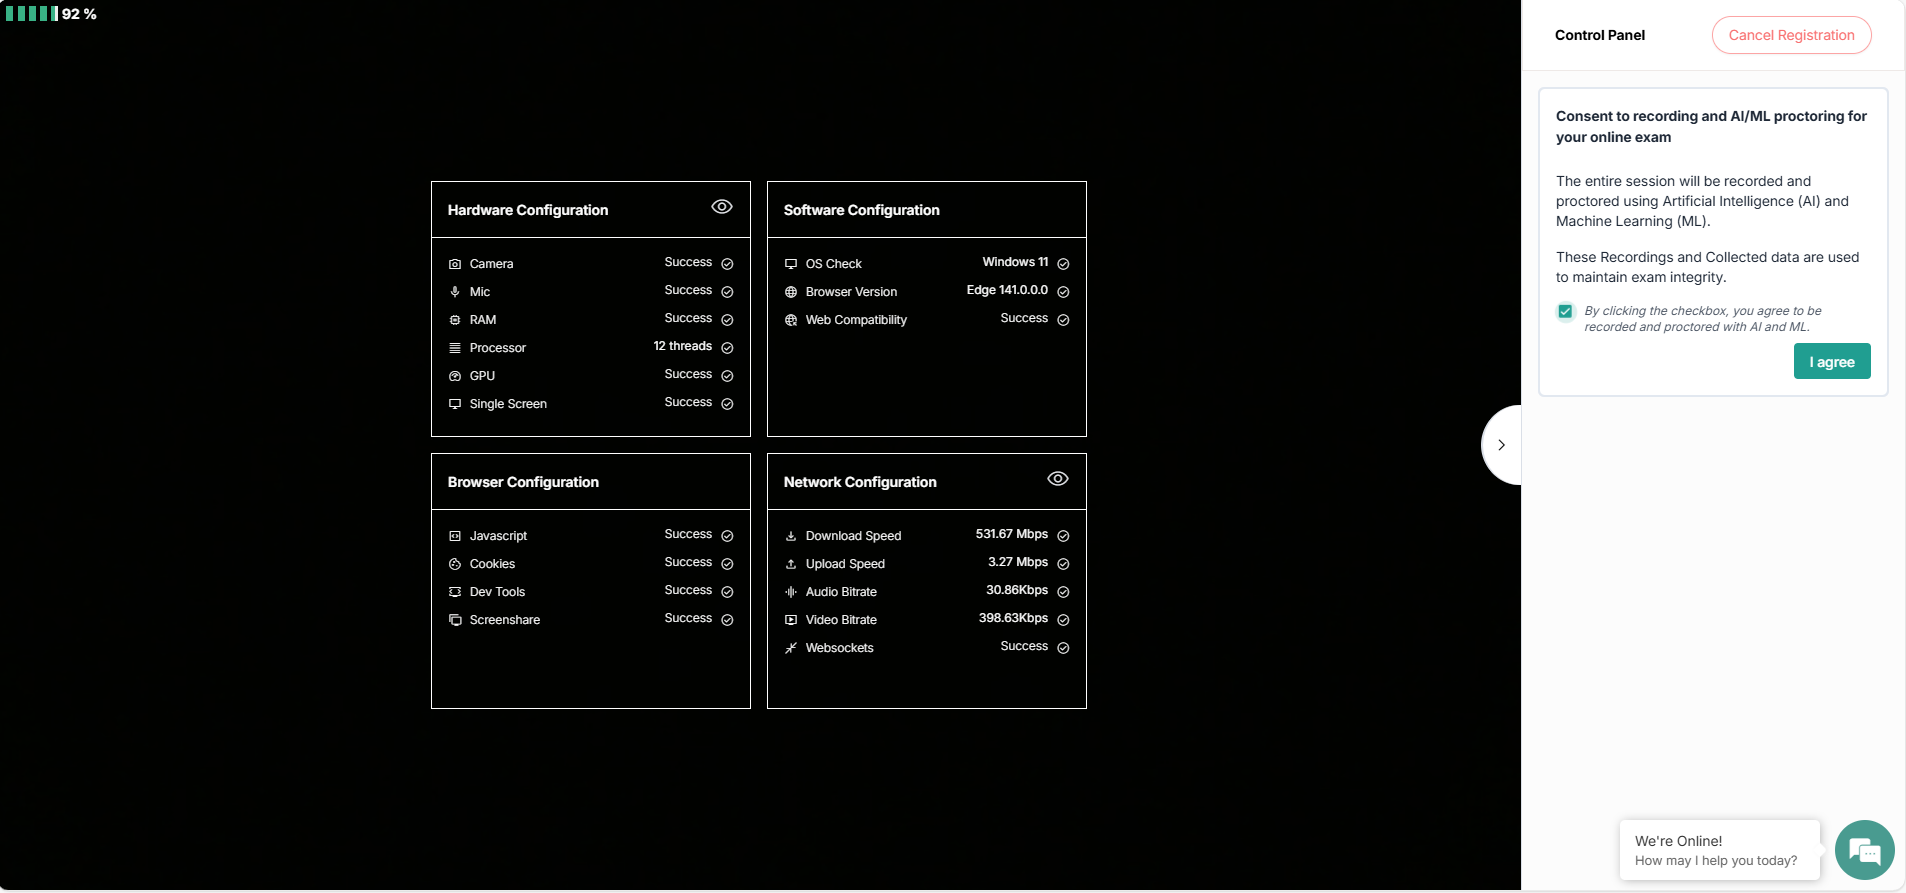
- In the control panel, select the checkbox and click I Agree to consent to recording and AI/ML proctoring to support exam integrity.
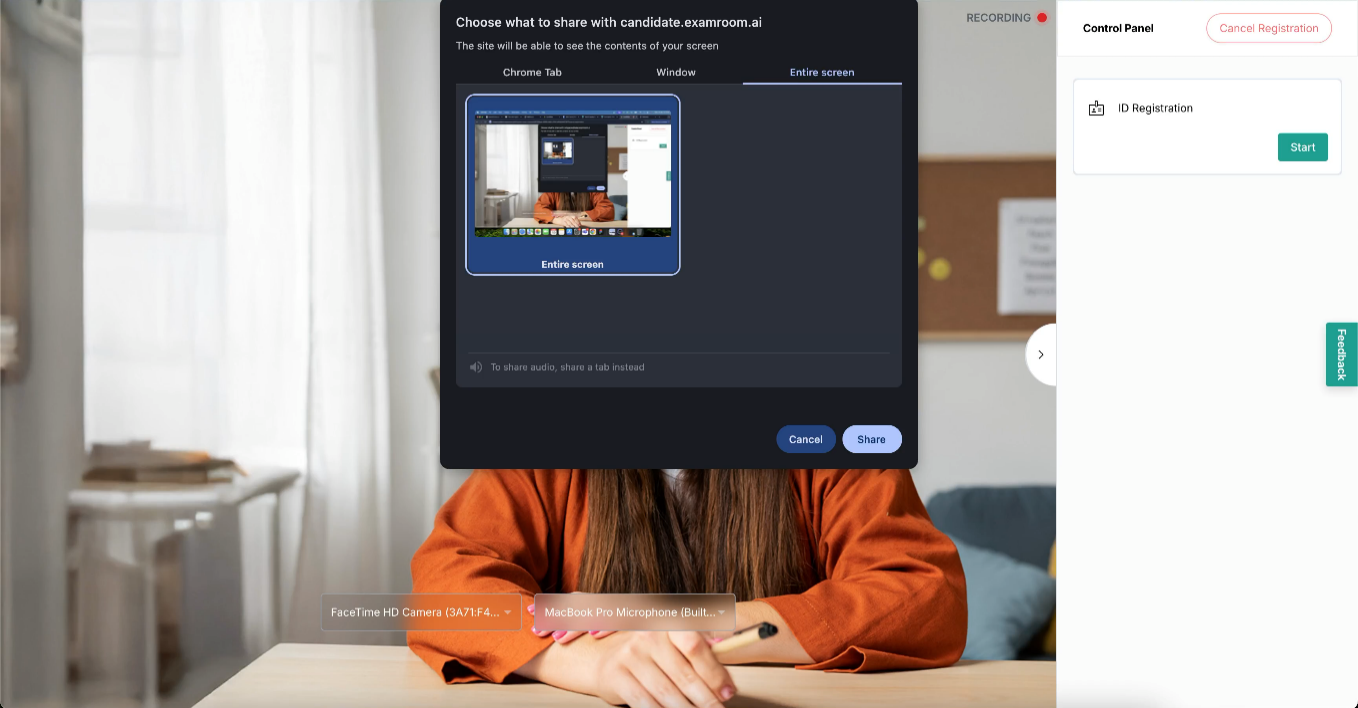
Note: If any of the requirements are not marked as successful, which means they are not meeting the minimum system requirements, the I Agree button will not be enabled. - A pop-up for screen sharing appears on the page. Click the Entire Screen tab. Then click the small image inside the box, then click share.

B. If you are using Edge, follow the Edge permissions.
C. If you are using Firefox, follow the Firefox permissions.
Photo ID
- After you have shared your screen and agreed to the terms and conditions, click Start to begin the ID Registration process.
- On the next screen, to scan the ID card, select the checkbox and click I agree to provide consent.
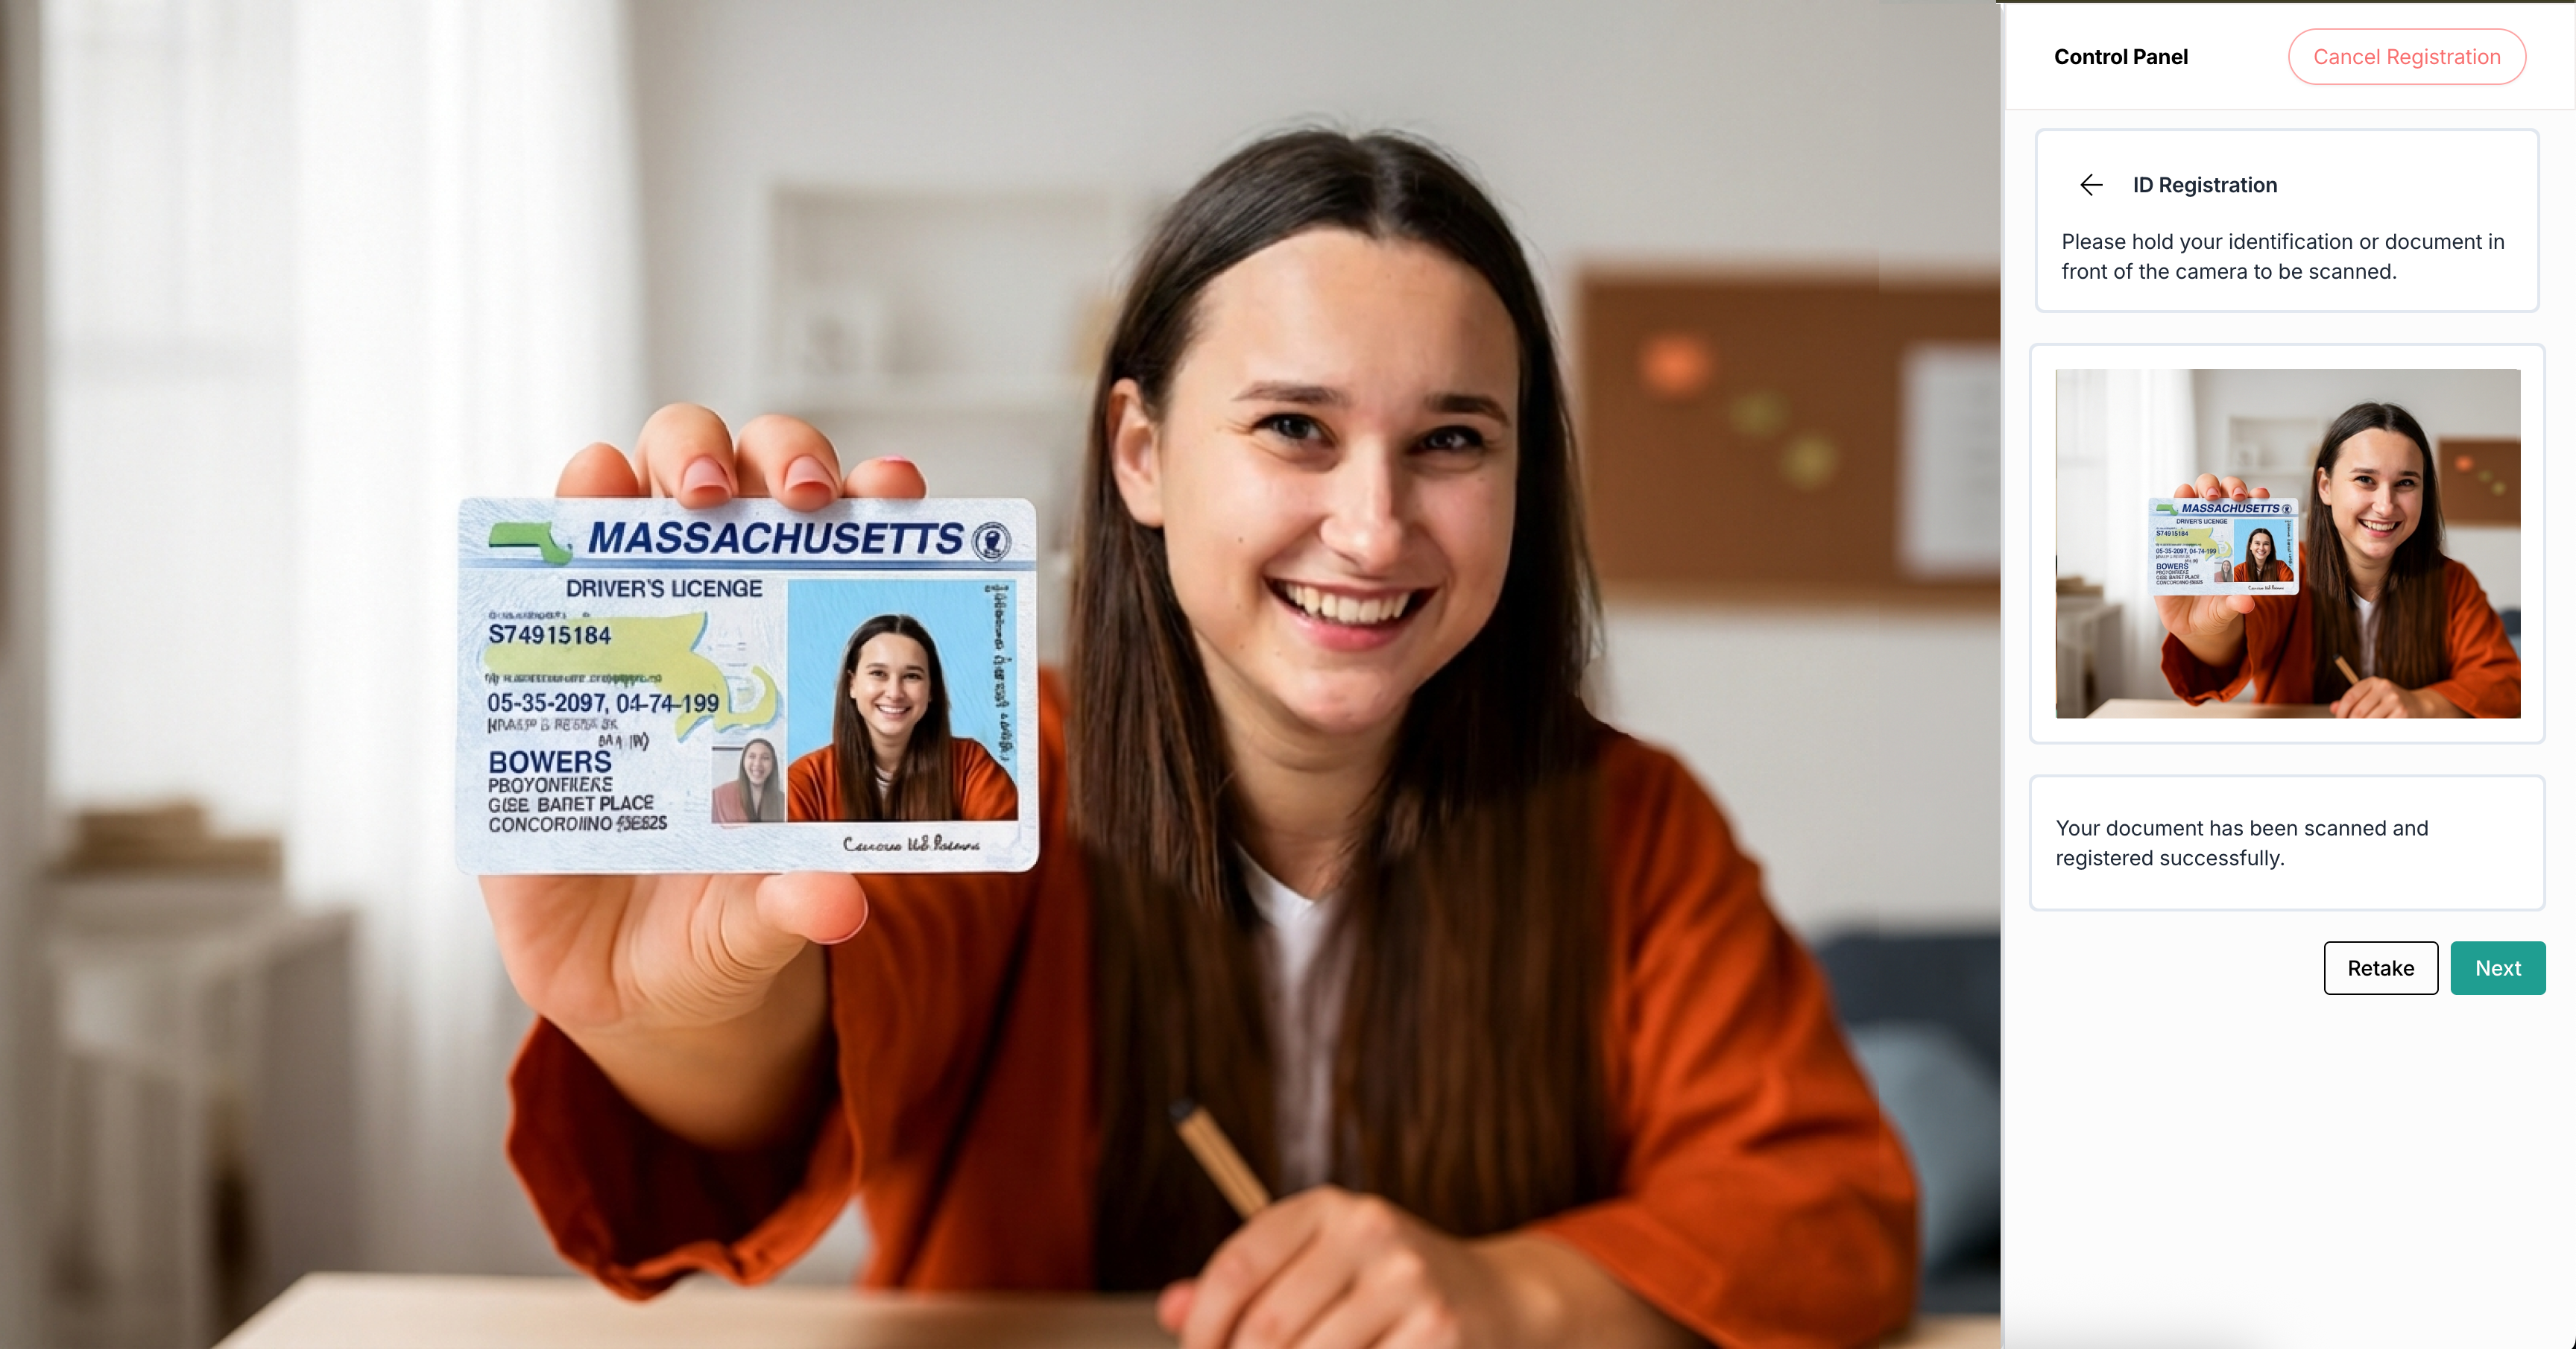
Note: Go through the ExamRoom Privacy Policy link available in the control panel if you need detailed information. - Hold your photo ID to the computer and click Capture. The screen displays a count of 3,2,1 and captures the image with your ID card.
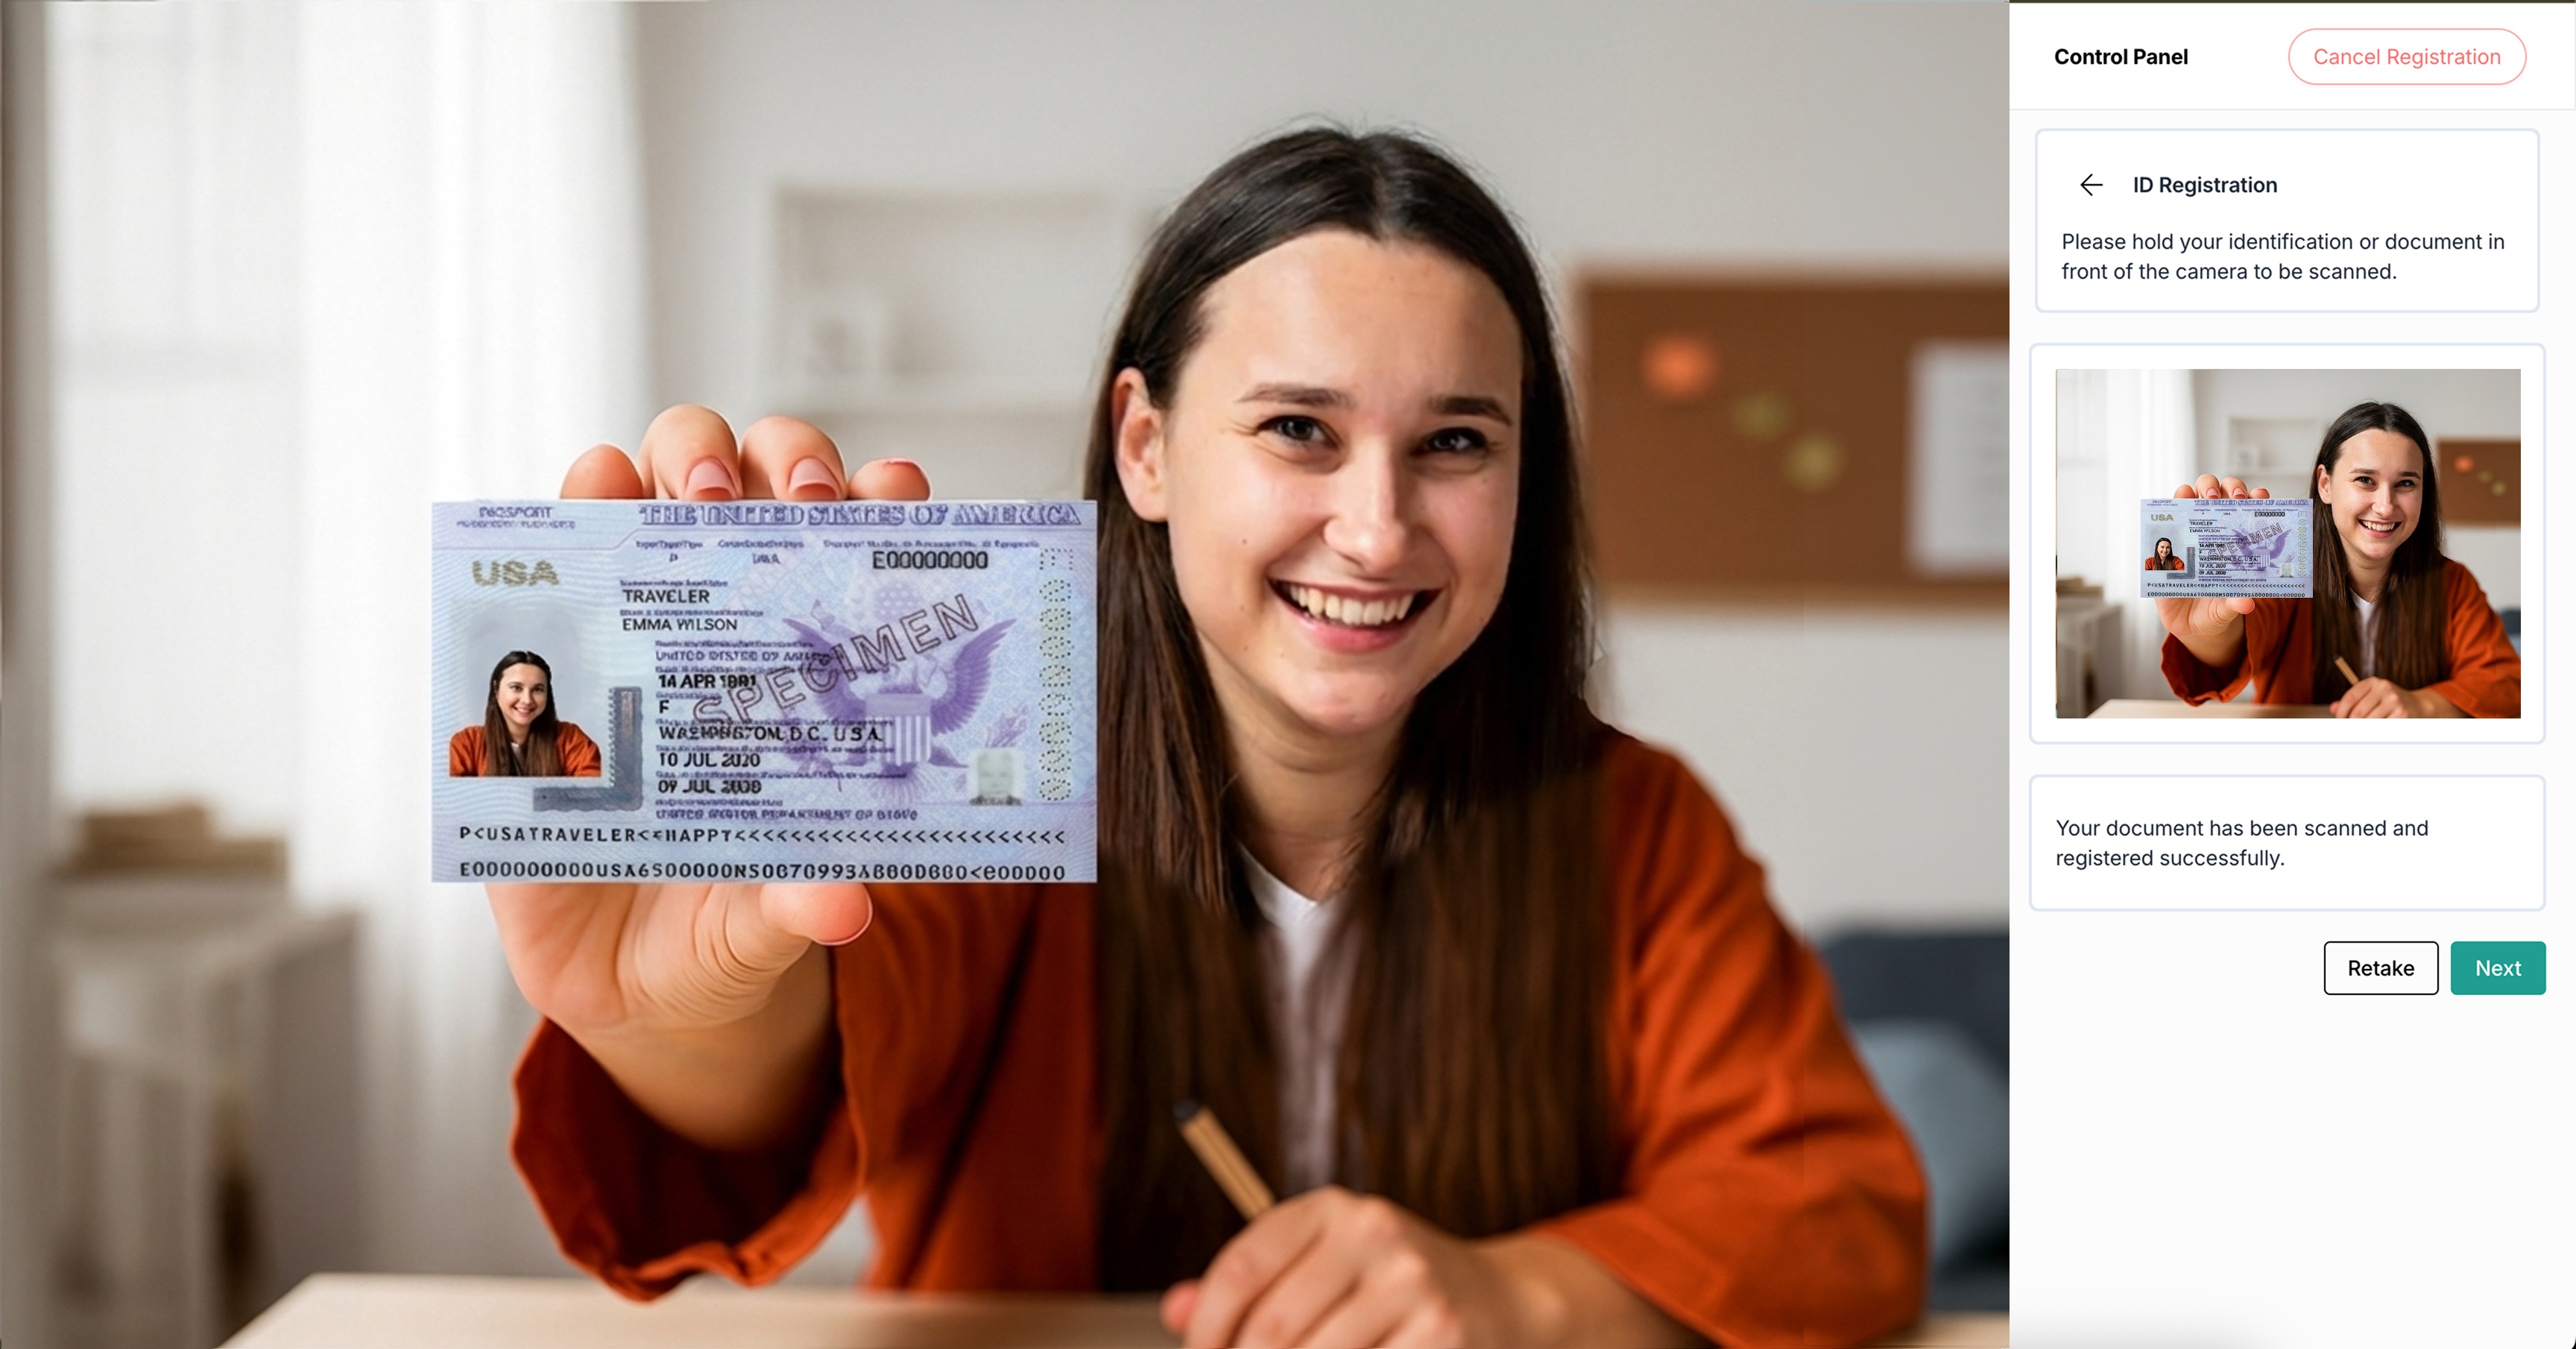
- Once your information is recognized, look at the image in the right control panel. If it looks correct, click Next. If it’s not clear, click Retake to capture it again.
- For example, Passport:


Face Registration
- Next is face registration. Click Start to begin the process.
- On the next screen, to scan your face, select the checkbox and click I agree to provide consent.
- Look straight into the camera so that AI captures your photo.
- As your face is automatically captured, a photo will appear in the control panel. If the image looks clear, click Next. If not, click Retake to try again.


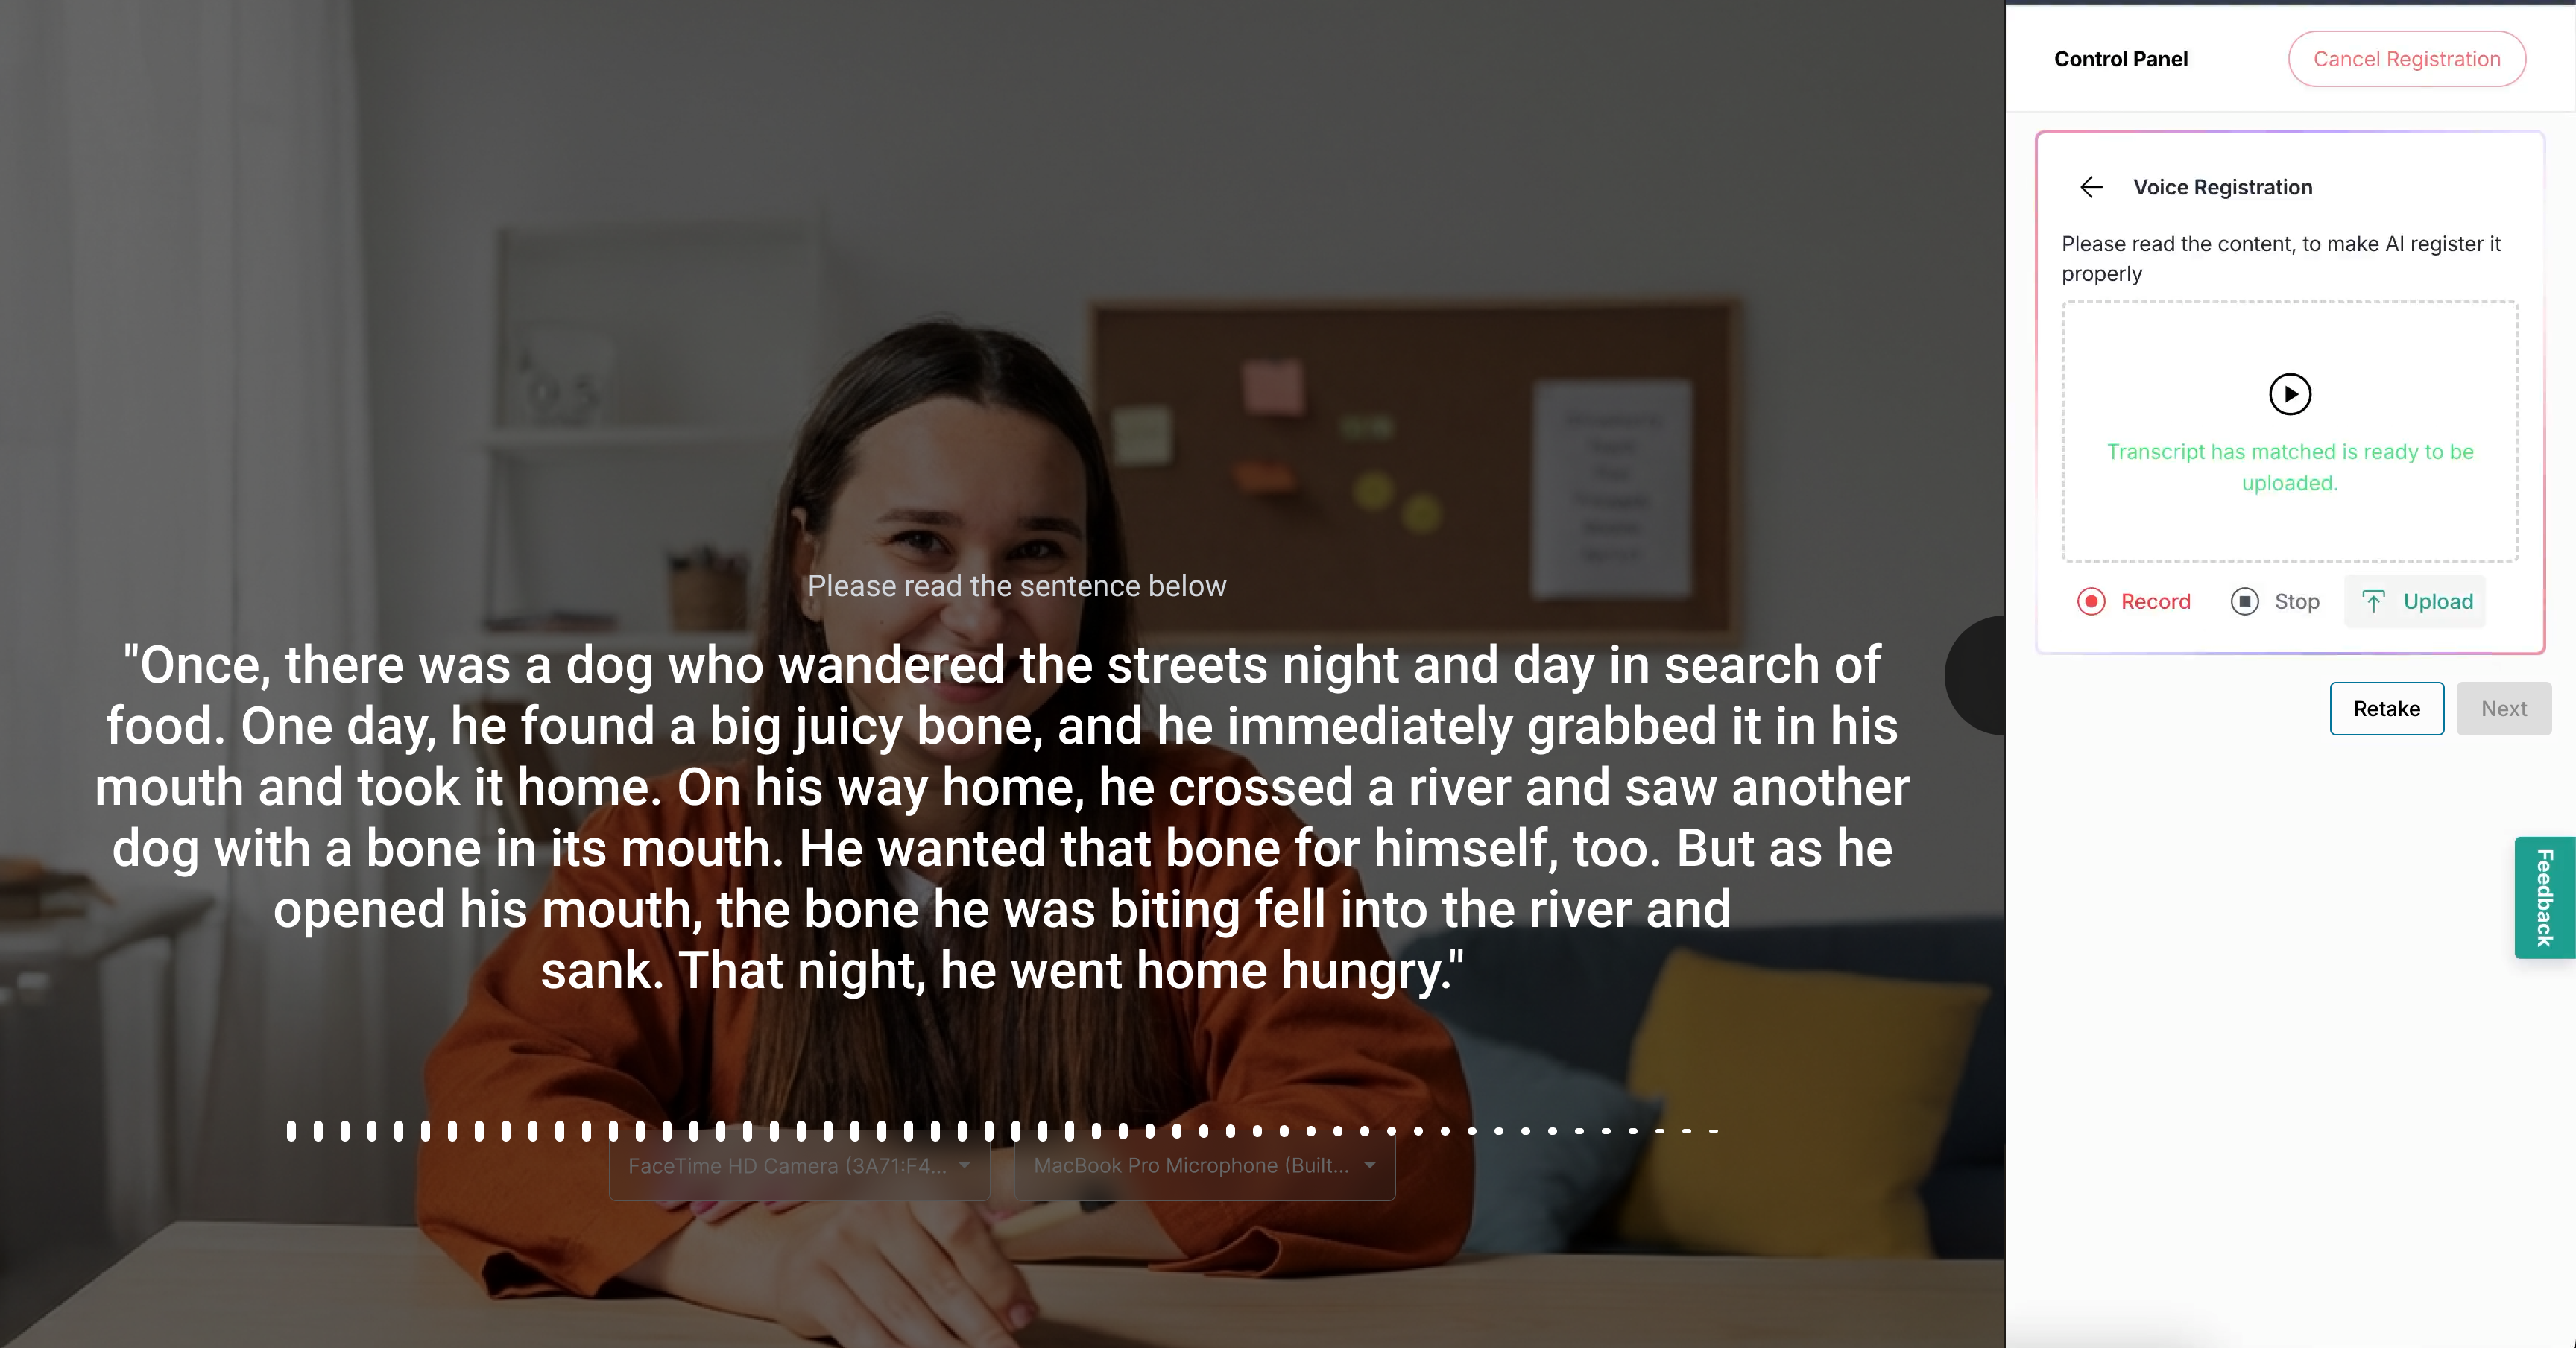
Voice Registration
- Next is voice registration. Click Start to begin the process.
- Note: options shown may not apply to your exam.
- Note: options shown may not apply to your exam.
- On the next screen, to scan your voice, select the checkbox and click I agree to provide consent.
- Click Record and read aloud the displayed passage. Click Stop when you complete reading it.
- Once you click stop, the control panel displays confirmation if the transcript matches. If it matches, click Upload. If it does not match, click Retry.
- After successfully registering your voice, click Next. If the registration was unsuccessful, click Retake to record it again.


Palm Registration
- Next is palm registration. Click Start to begin the process.
- Note: options shown may not apply to your exam.
- Note: options shown may not apply to your exam.
- On the next screen, select the checkbox and click I agree to provide consent.
- Hold your palm toward the camera, inside the designated marks on the center of the screen to register it.
- When the palm scan appears, review the image in the control panel. If it looks clear, click Next. If it’s blurry or unclear, click Retake to try again.


Signature Registration
- Next is signature registration. Click Start to begin the process.
- Note: options shown may not apply to your exam.
- Note: options shown may not apply to your exam.
- On the next screen, to scan your signature, select the checkbox and click I agree to provide consent.
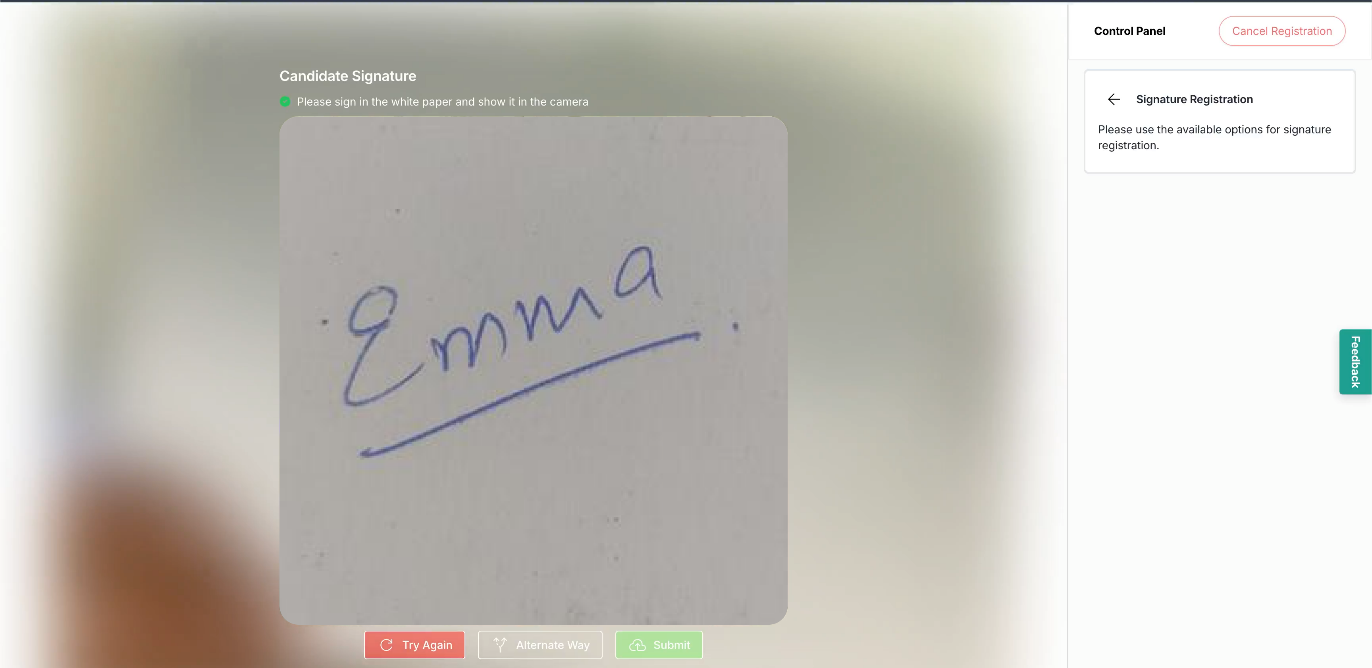
- There are two ways to register your signature.
- Option 1: Sign and Capture. Once you select it, sign on a piece of paper and show it to the camera.
- If your signature looks correct, click Next. If not, click Try Again or Retake. You can also choose another option by clicking Alternate Way on the screen.
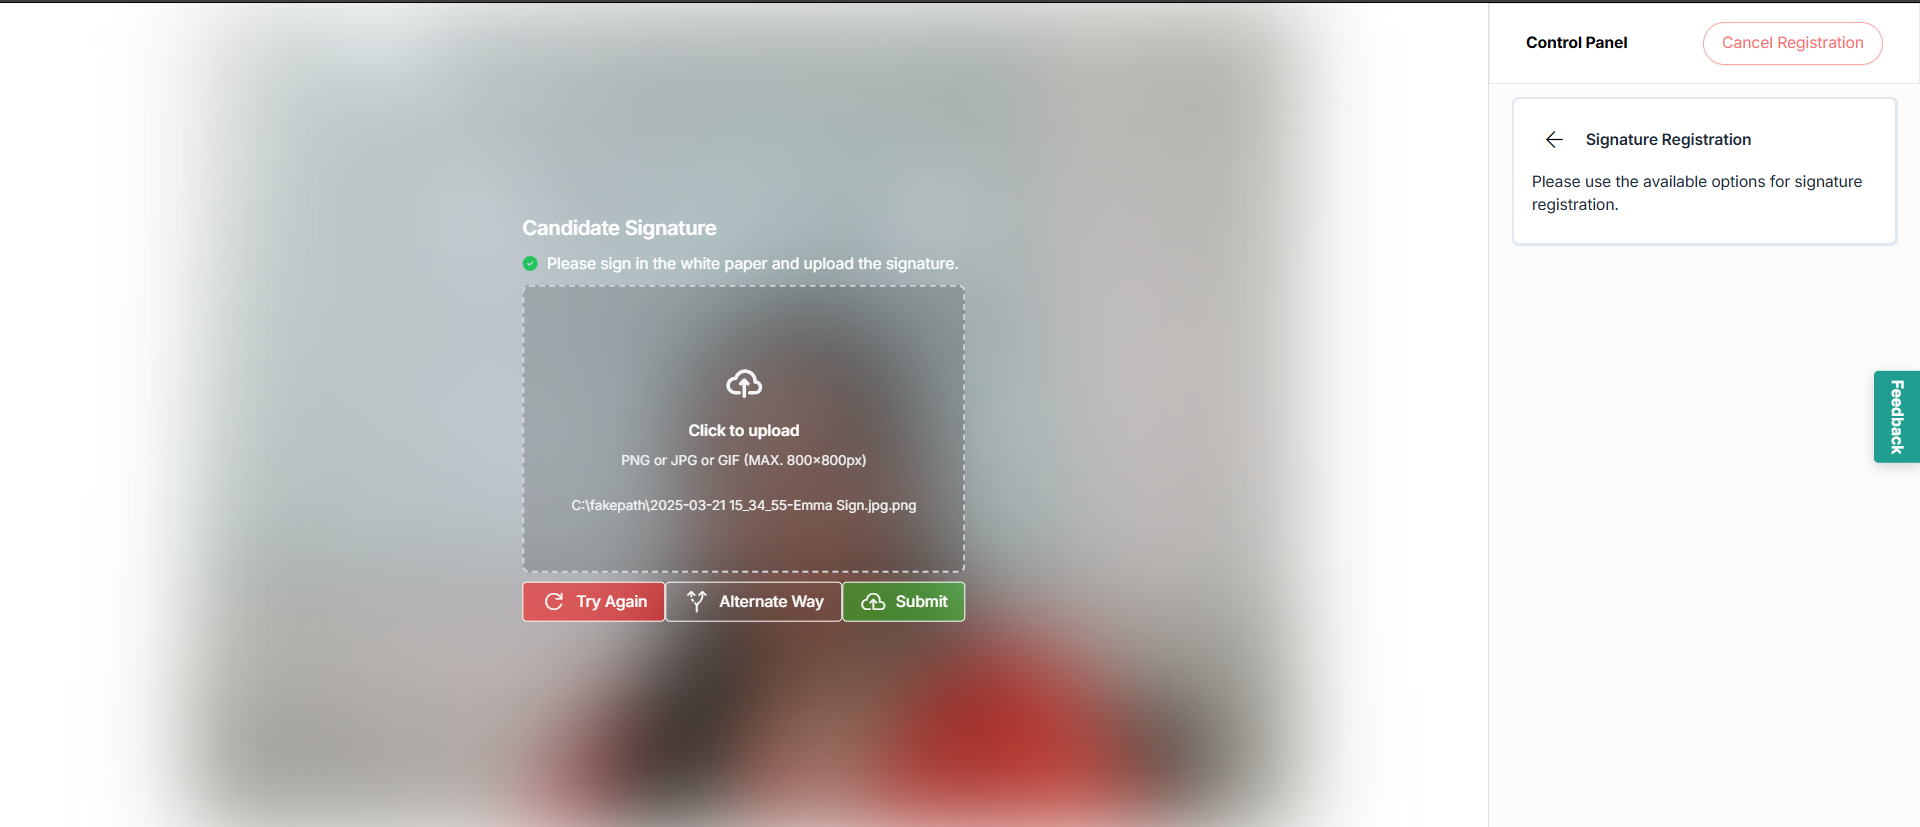
- Option 2: Sign your name on a white sheet of paper, then upload the image. The acceptable file types are listed on the screen.
- Upload the signature file from your device and click Submit.
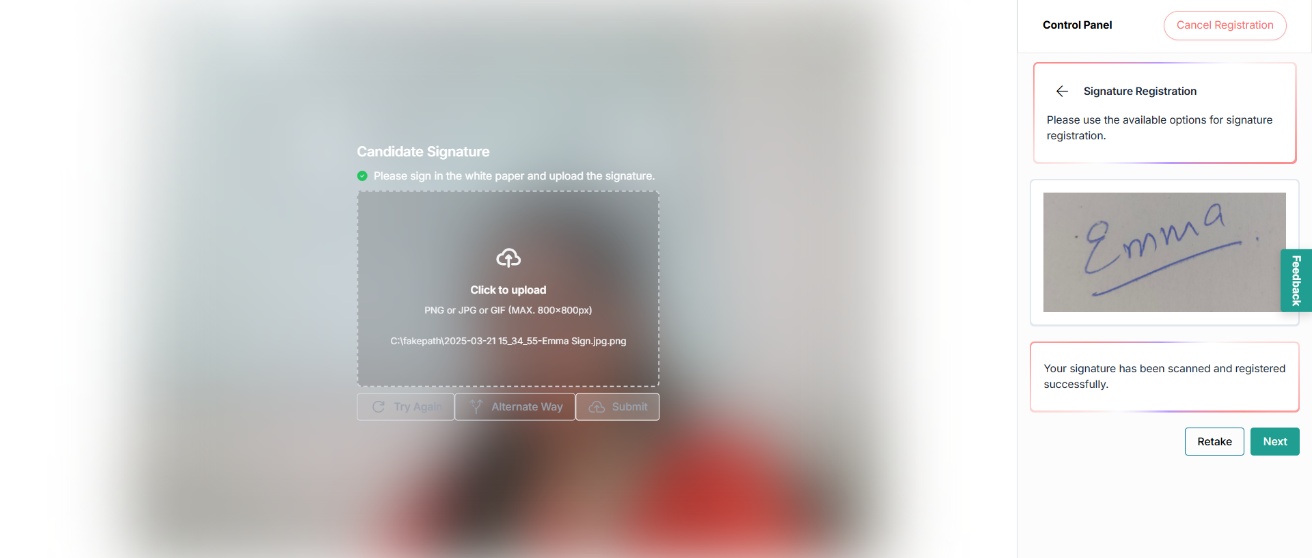
- Once you upload your signature, it will appear in the control panel. If it looks correct, click Next. If not, click Retake to upload it again.
- Once the ID, face, voice, palm, and signature registration is complete, the control panel displays the notification of completion. Click Return to Dashboard to go back to the dashboard.